The email validation service checks your prospects’ email addresses for deliverability, bounce risk, and other quality signals. This helps you keep your contact lists clean and prevents sending emails to addresses that may harm your deliverability. Reply validates emails with Verifalia, an email verification service.
After validation, each email is classified as valid, risky, catch-all, or invalid.
💡 Note that Reply does not send emails to contacts with invalid email addresses.
How to validate your contacts
You can validate a single contact or multiple contacts at once. To do this:
-
Open the People page.
-
Select one or more prospects and click Validate emails.

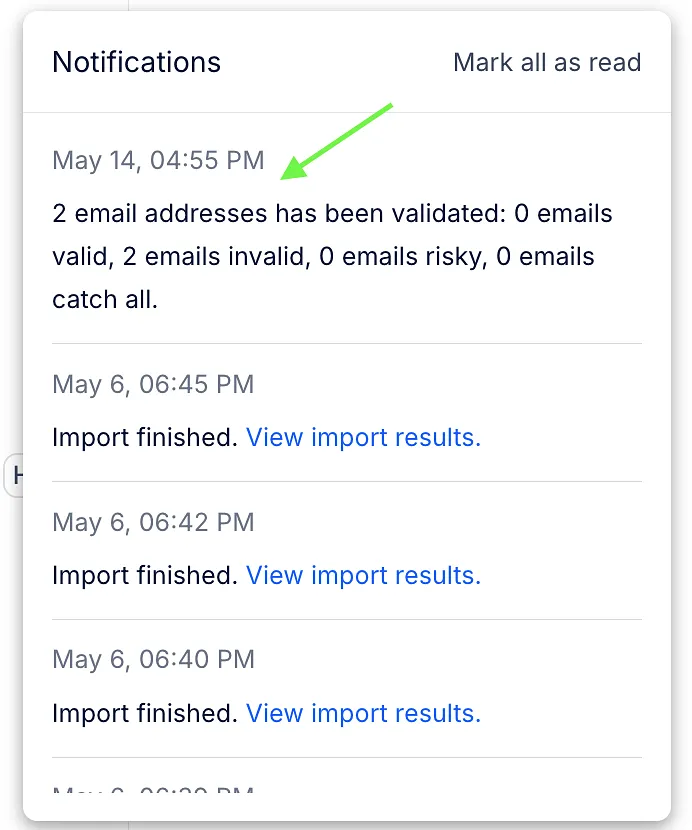
After validation starts, you will receive a notification in the Notification Center once the process is completed.
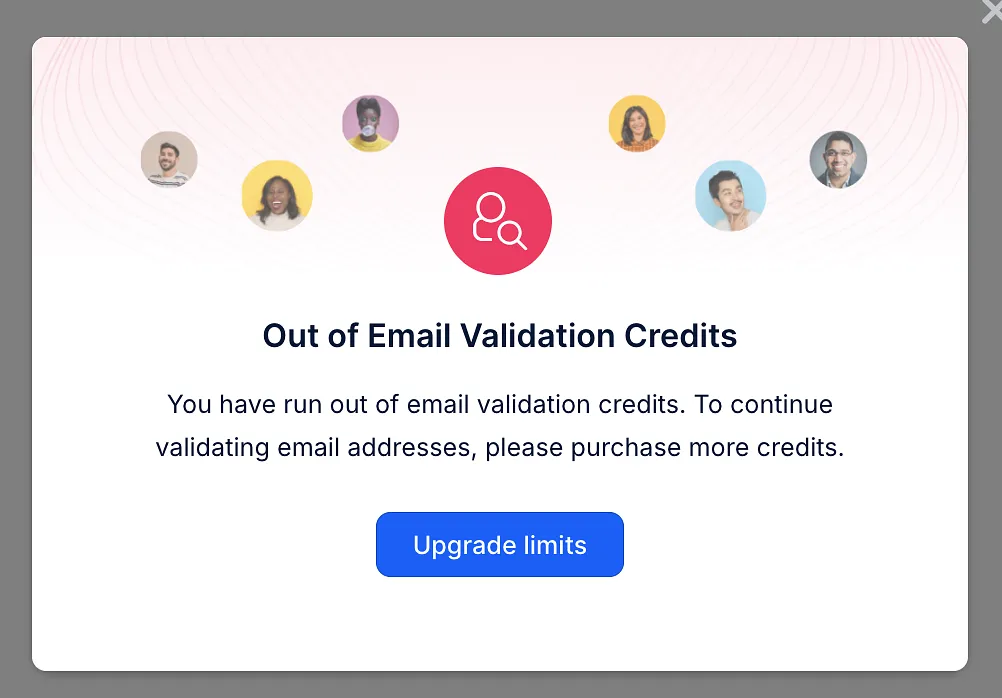
If you do not have enough email validation credits, you will see the following notification. In this case, go to Settings → Plans & Billing to purchase an email validation add-on.
💡 Re-validating an email address creates a new validation request and uses an additional credit, even if the contact was validated before. Please review the number of selected contacts before confirming.
How credits are used:
- one credit is used for each email that is checked, whatever the result: valid, risky, catch-all, invalid or unknown;
- if validation can't run because of a technical error, the credits are returned;
- to see how many credits you have left, hover over the email validation button on the People page.
Email statuses and validation limits
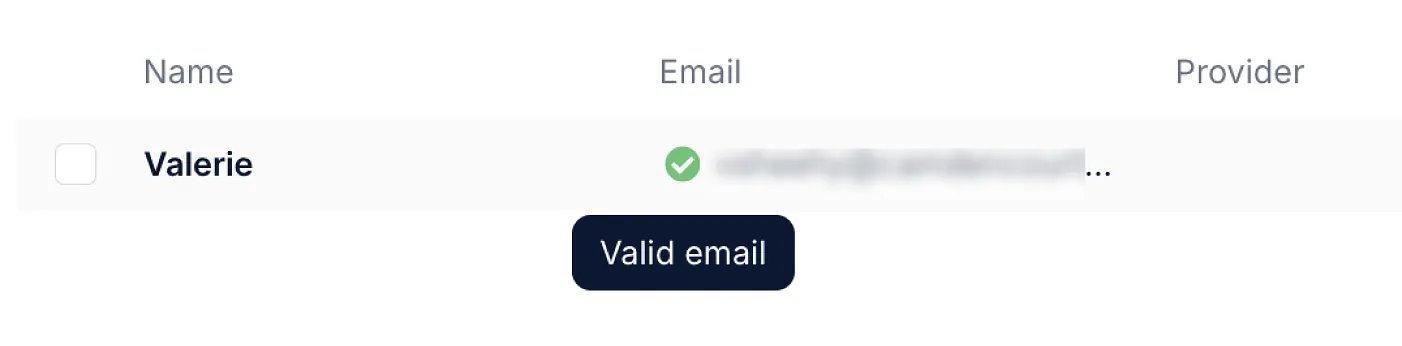
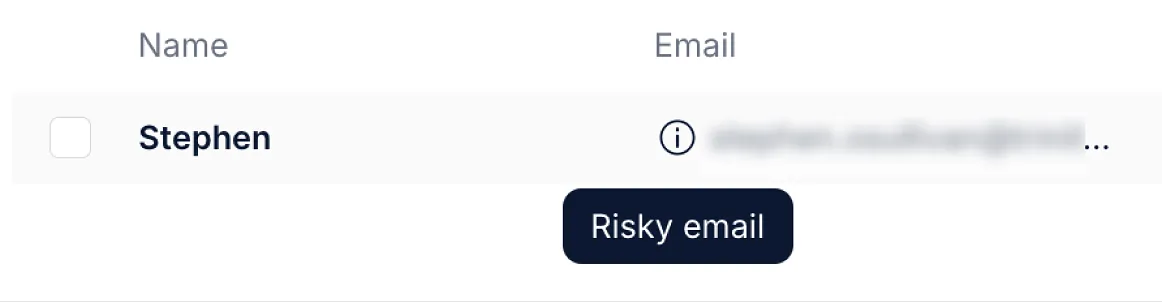
After validation is completed, contacts are updated with one of the following statuses:
-
Valid email
-
Risky email
-
Catch all
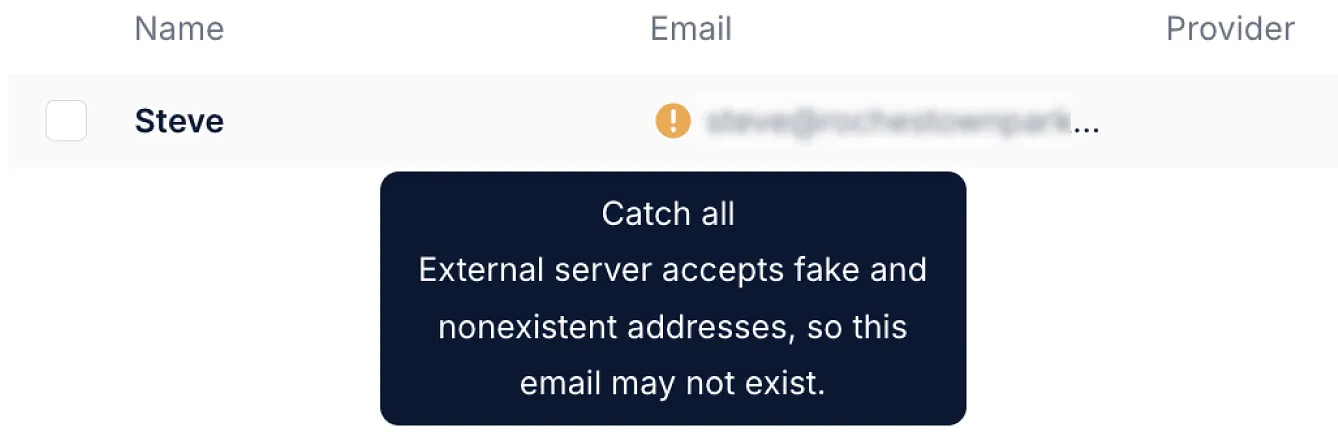
-
Invalid email
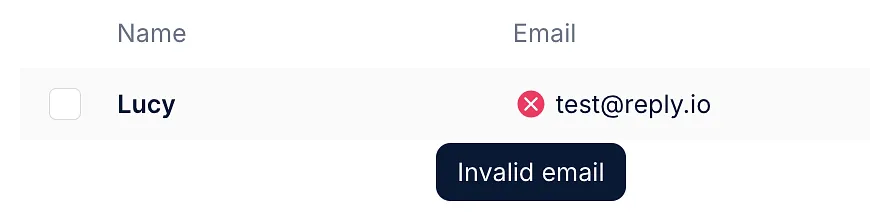
💡 Note that you can run only one validation batch at a time. You must wait until the current batch is completed before starting a new one.
A contact with an invalid email can still be added to a sequence only if there are no email steps involved. This applies to the API as well.
👉 See also: Email validation statuses
Email validation credits
To begin using the Reply email validation service, you should buy email validation credits.
To purchase them:
-
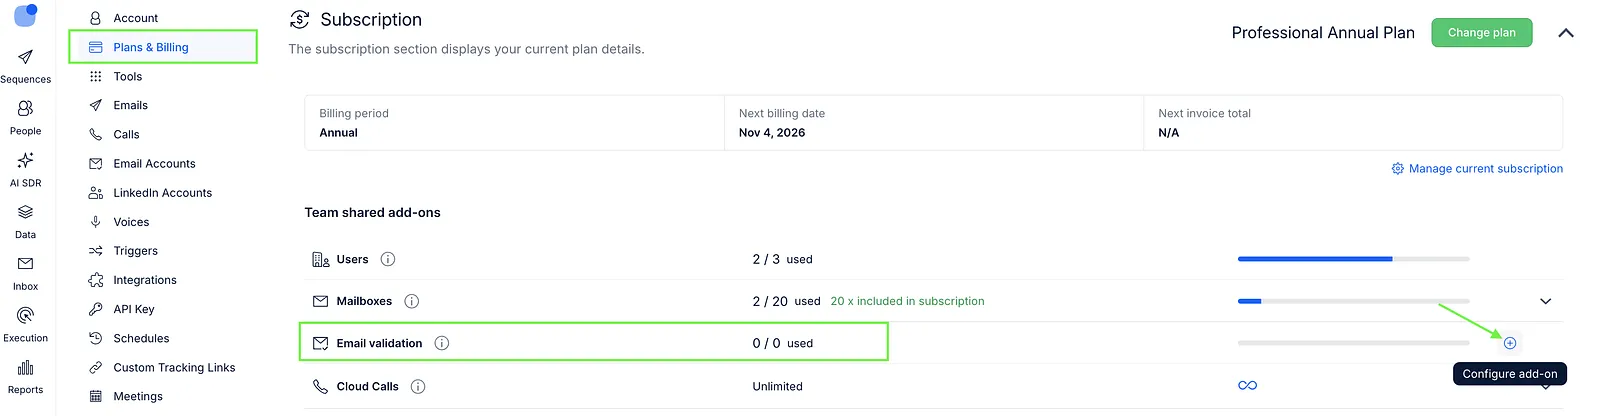
Go to Settings.
-
Open Plans & Billing.
-
In the Subscription section, find Email validation under Team shared add-ons.
-
Hover over the row and click the + (Configure add-on) icon on the right.
-
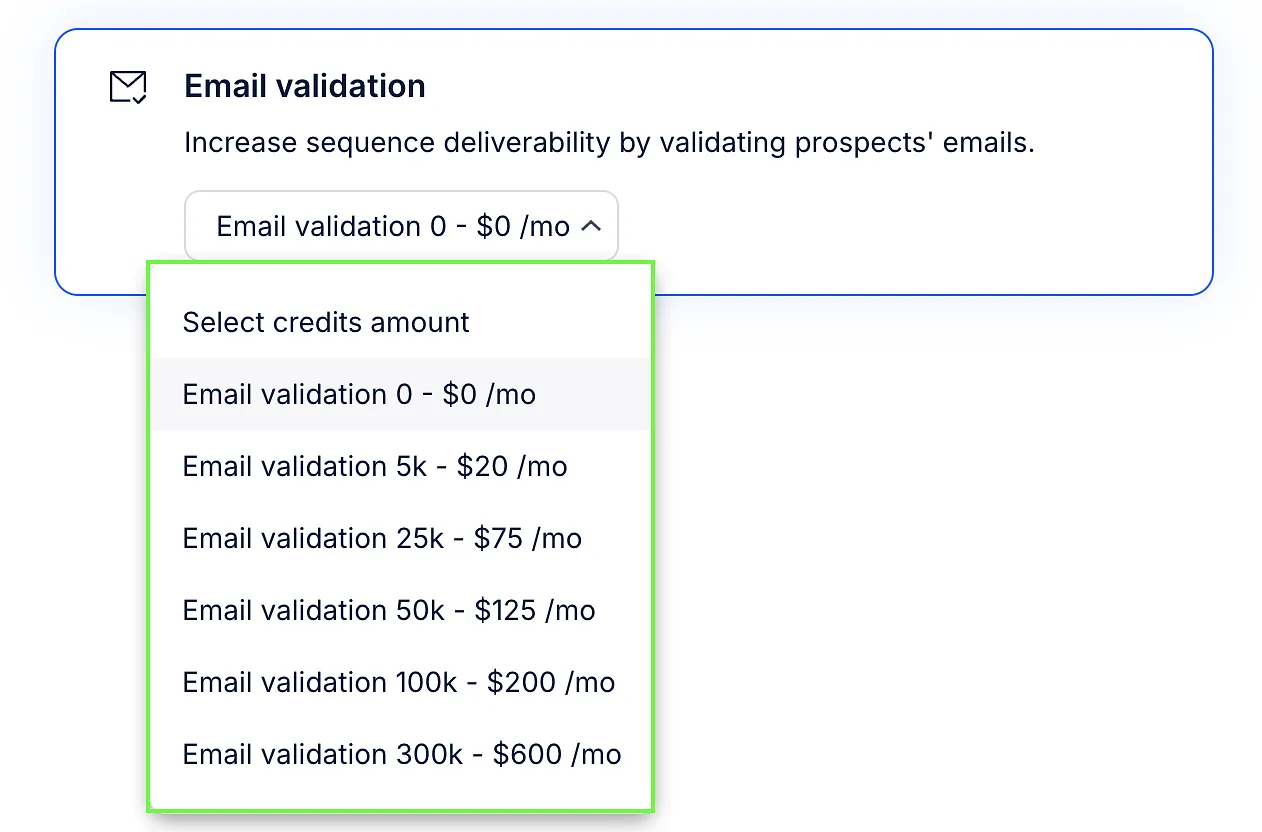
Choose the package that fits your usage needs.
-
Click Pay to confirm the payment.
Here are the available email validation credit packages:
-
5,000 credits - $20/mo
-
25,000 credits - $75/mo
-
50,000 credits - $125/mo
-
100,000 credits - $200/mo
-
300,000 credits - $600/mo
Once added, credits are available for validating contacts in your account.
💡 If you're on an annual subscription, the email validation add-on is billed annually. The billing wizard displays the price and billing period before you confirm the change.
Automatic email validation
Automatic email validation automatically checks all contacts added to team sequences using available email validation credits. Validation runs in the background, and notifications are sent after each batch is completed.
To enable this feature:
-
Go to Settings → Emails.
-
Enable the Automatic email validation toggle.
-
Save.
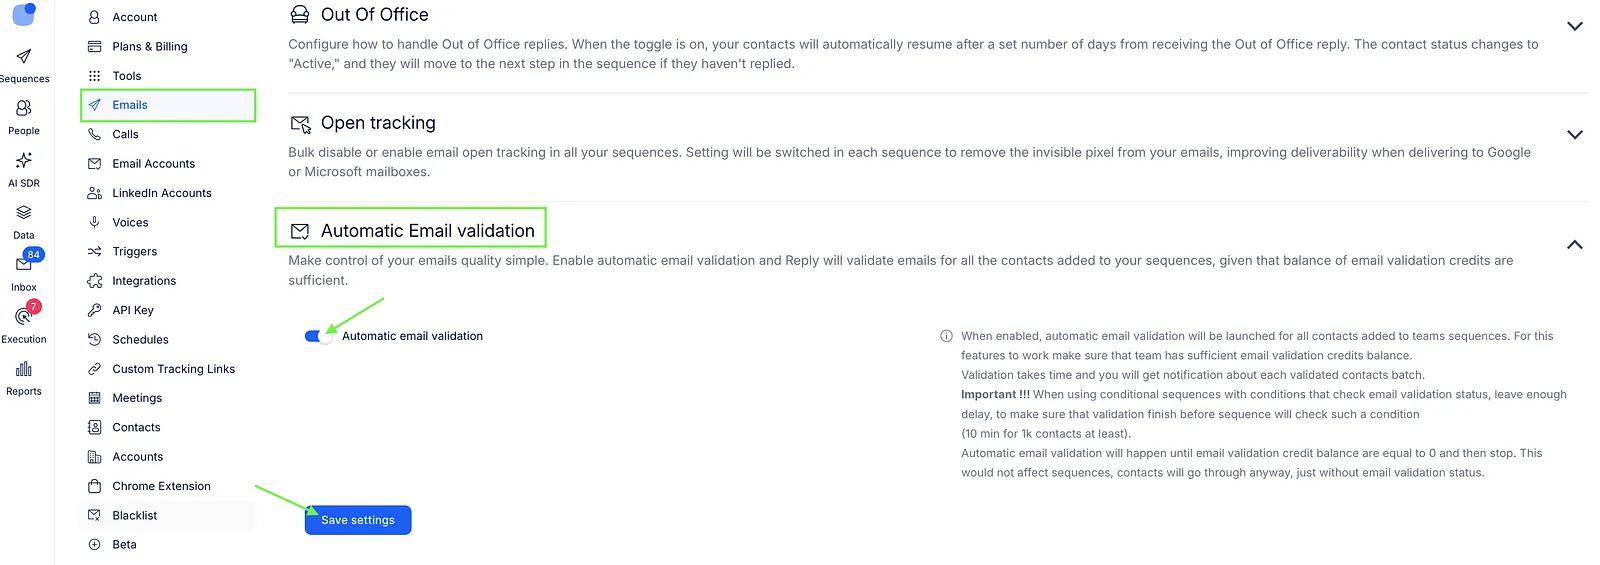
💡 Important to note:
-
The feature works only while the team has available email validation credits.
-
Validation stops automatically when the credit balance reaches 0.
-
Sequences will continue running even without validation.
-
Only contacts that have never been validated and haven't received any emails yet are checked.
-
It also checks contacts added to sequences through the API or integrations.
-
If you use conditional sequences based on email validation status, add enough delay before the condition step to allow validation to finish (at least 10 minutes per 1,000 contacts).
Validate emails through the API
You can also validate contacts with the Reply API v3. It uses the same email validation credits as validation in the app. Your API key needs access to the Contacts scope.
- Check how many credits you need with
POST /v3/email-validations/estimate. The response shows the credits available and required. - Start validation with
POST /v3/email-validations/scheduleand pass thecontactIds. SetacceptPartialtotrueto validate as many contacts as your credits allow if you don't have enough for all of them. - Check the progress and results with
GET /v3/background-jobs/{jobId}, using thejobIdfrom the previous step.
💡 Only one validation can run at a time. If you don't have enough credits, the request returns an error that explains why.
To turn automatic email validation on or off through the API, use the isAutomaticEmailValidationEnabled field in PATCH /v3/settings. Read more in the Reply API documentation and our article on API keys.